
MIG Welding Tutorial for Beginners
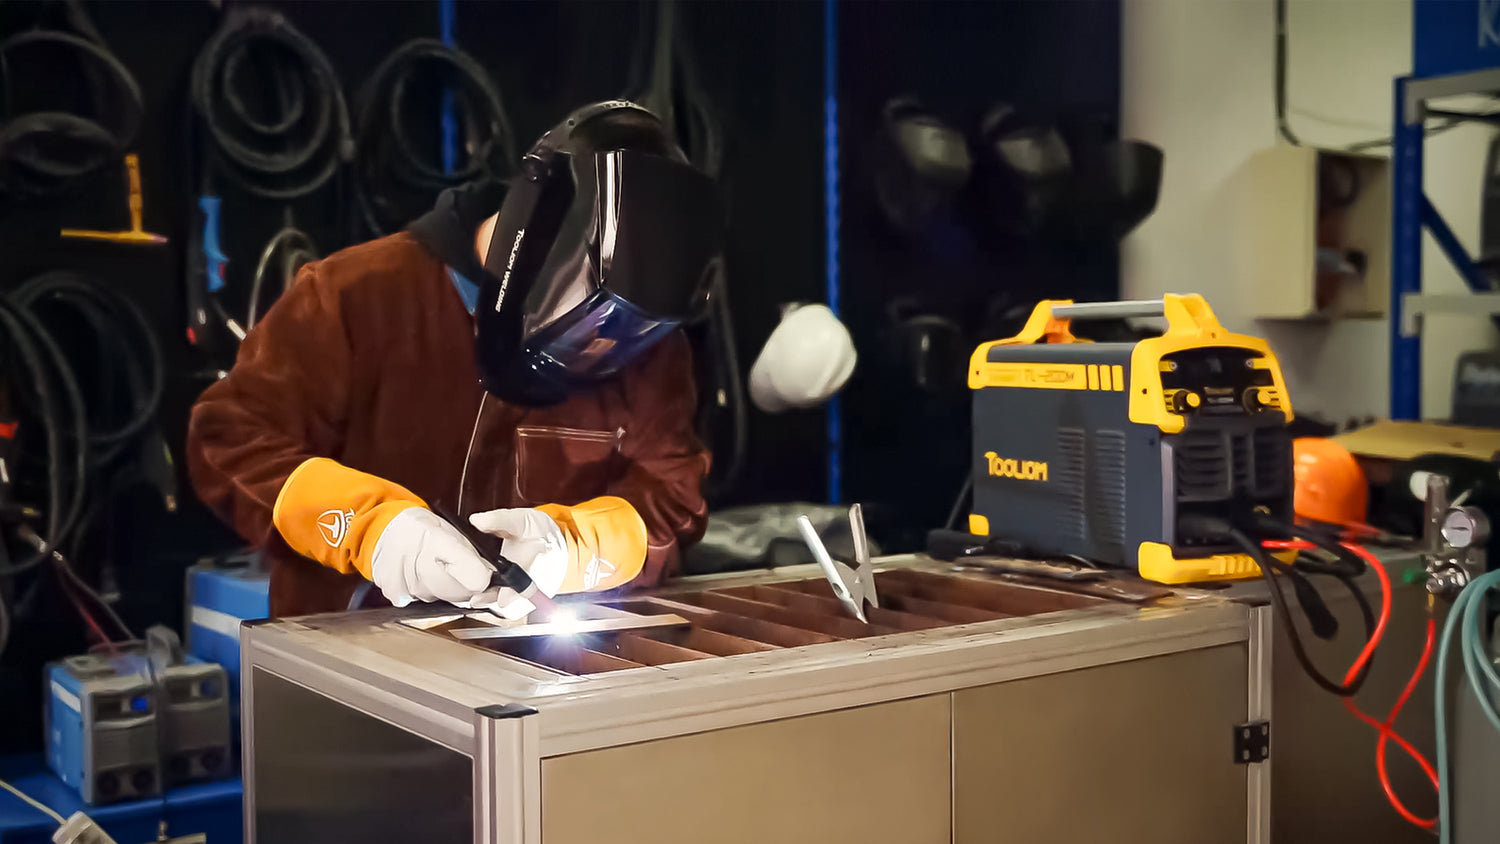
This passage is suitable for beginners to learn about MIG welding, including the things that you’ll need, how to get set up, and how to run good welds.
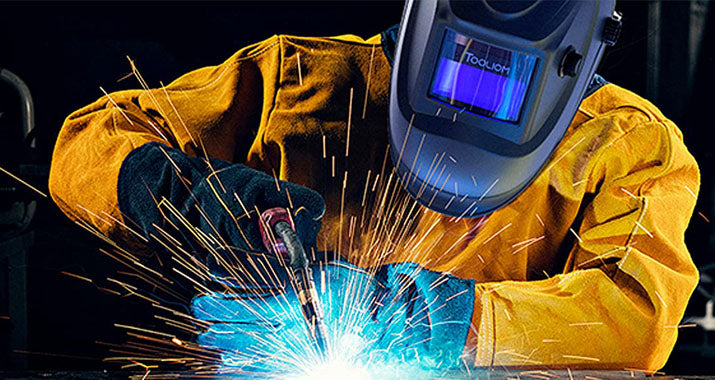
What is Mig Welding
Here, we are talking about MIG welding and it works by forming an electrical arc between a metal wire electrode and the parts you are welding to heat it to a very high temperature. This melts the base metal, allowing it to join together. The wire is fed out of the MIG gun by an electric motor and pushed into the weld puddle to reinforce the weld. The gas glows out of the nozzle to protect the molten metal from contamination by the air and the gas is also important for the arc to work correctly. Then we are going to talk about the most common process of MIG welding here.
The Things That You’ll Need
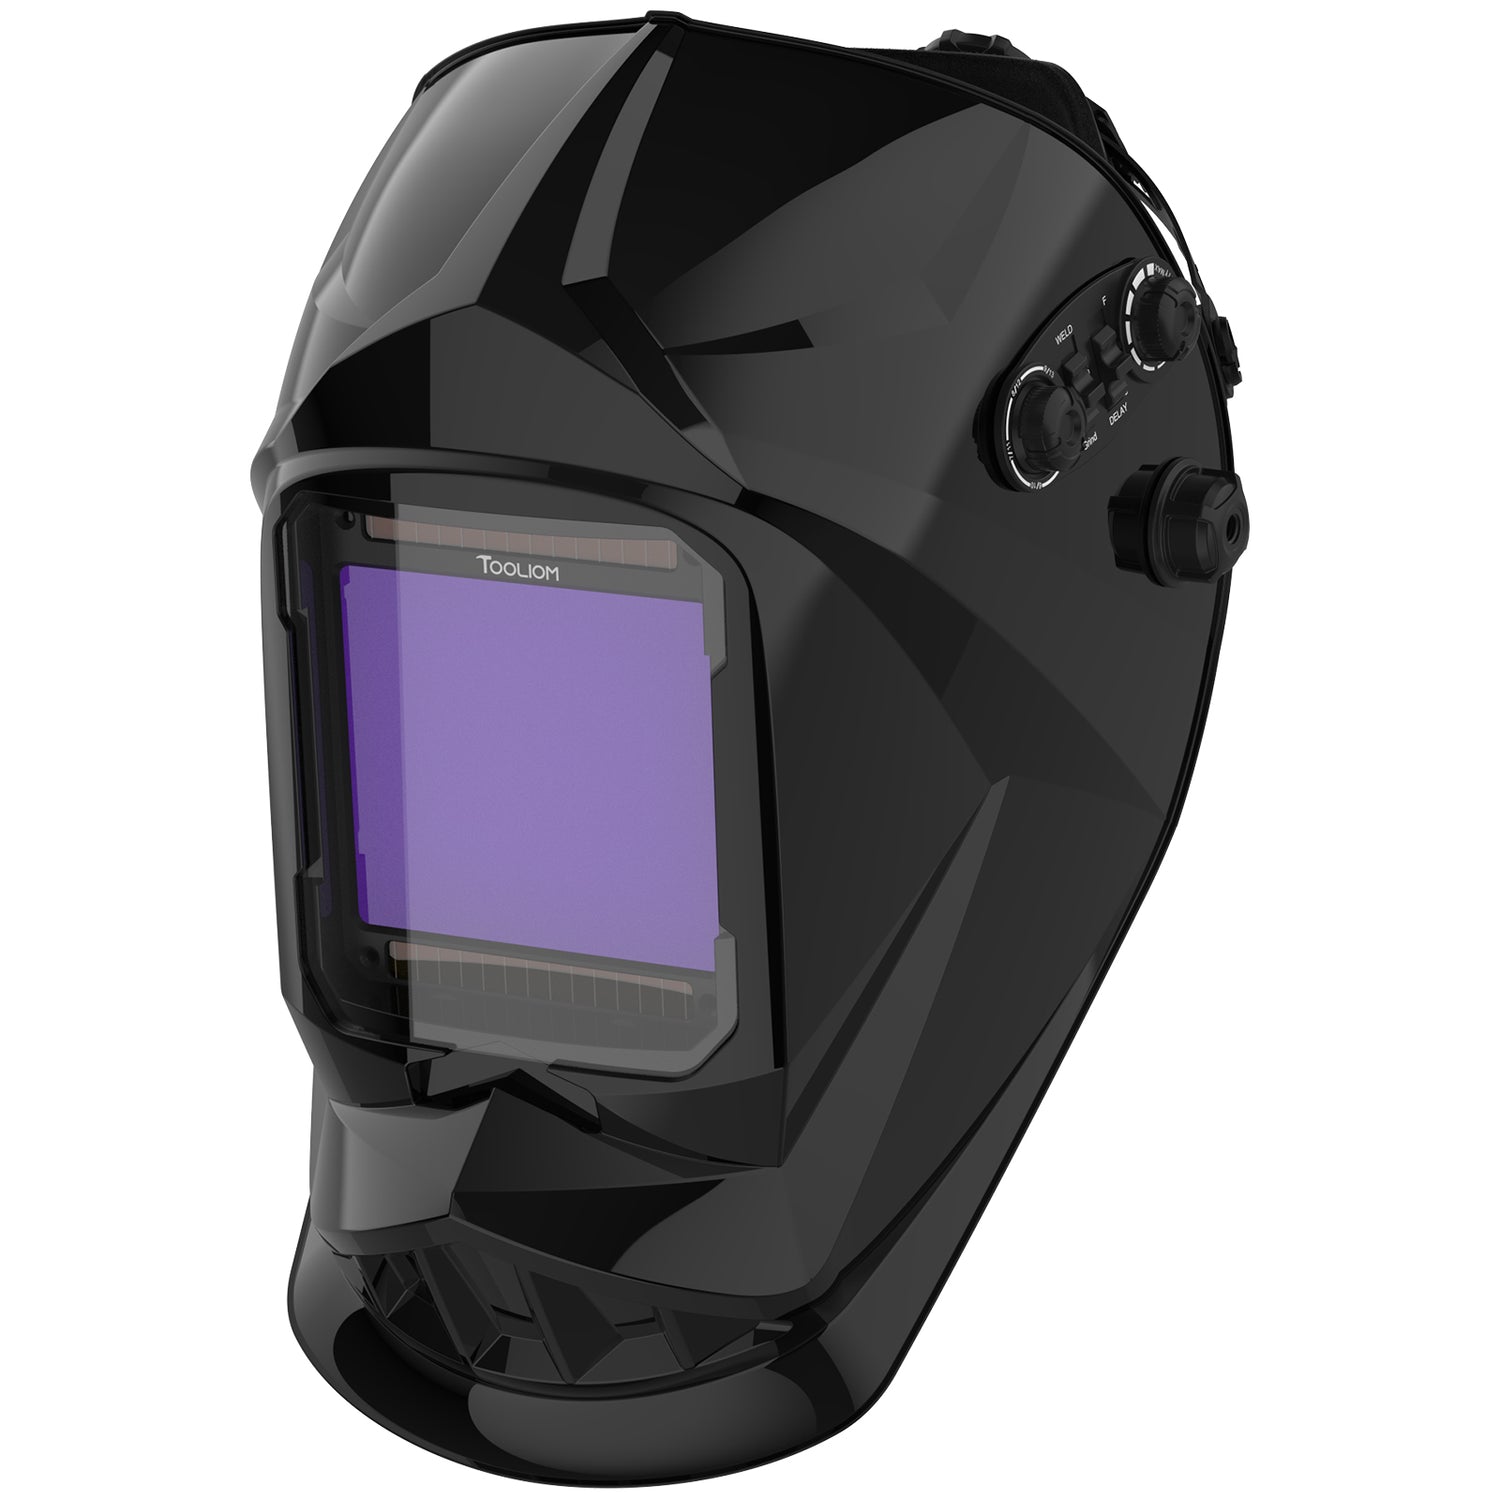
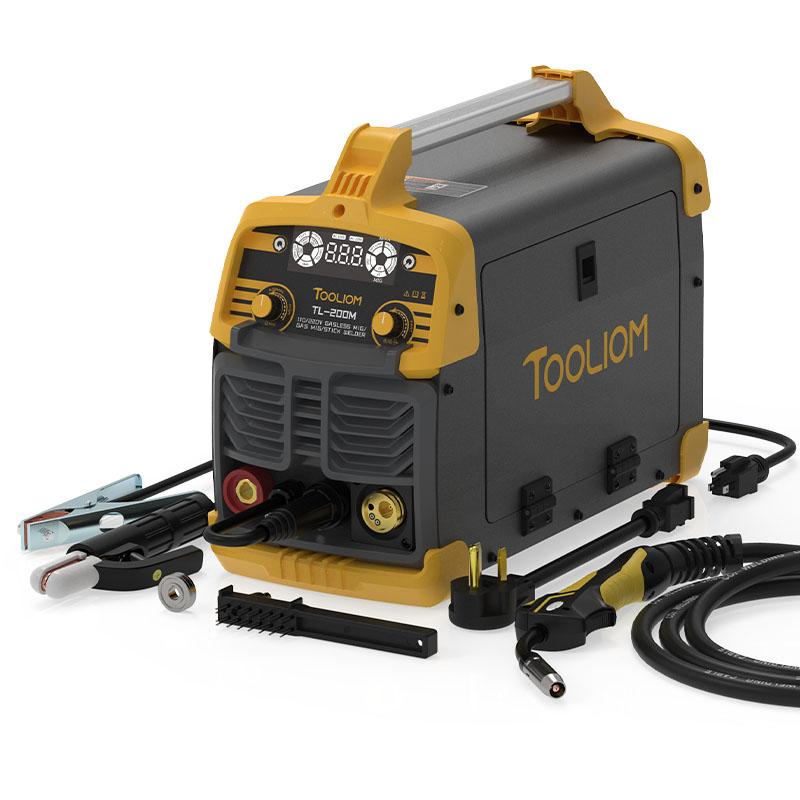
You need to prepare a welding machine, a welding helmet, some nice thick welding gloves, a welding jacket, solid welding wire(the most common type is er 70s-6), a cylinder of shielding gas(usually either 75 argon on 25 co2 or straight co2), big welding pliers which can be used to cut wires, remove nozzles, contact tips and also clean spatter out of the nozzle.
How To Set Up The Machine
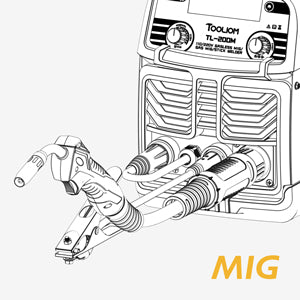
Set up the MIG gun
The first thing is to install the MIG gun, and then slide the MIG gun into the machine and secure it with the screw. On most of the machines, you’ll need to select the right polarity or whether the gun is connected to positive or negative by connecting the gun to the positive terminal and the work clamp to the negative terminal.
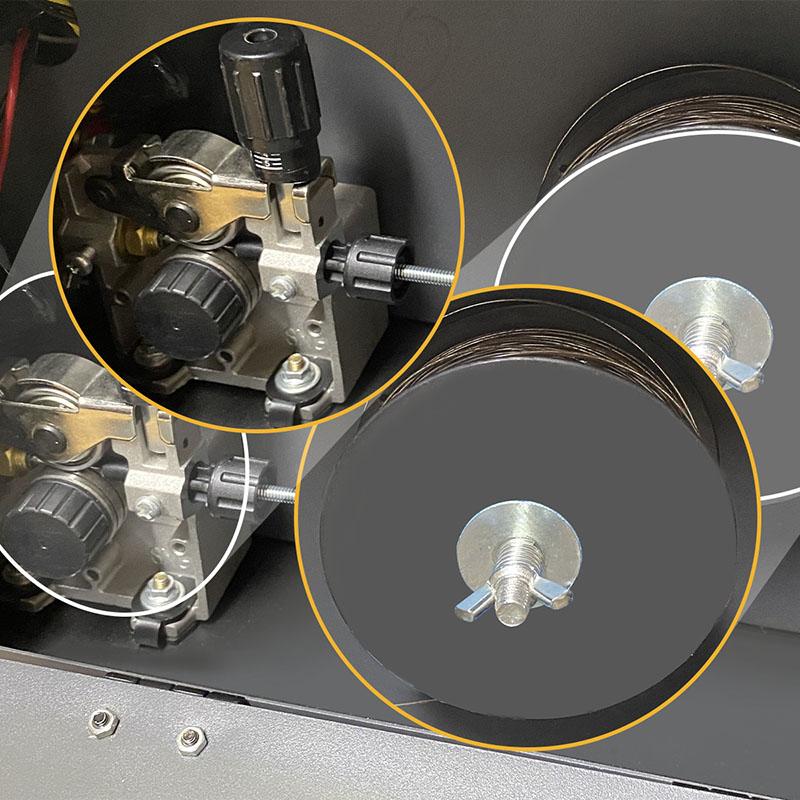
Set Up the Drive Roll
You need to be using the right size grooves for your wire. They are generally labeled in a way that shows the size it is installed for on the side of the roll. Then, the wire can be installed and fed into the wire guide over the drive roll and into the gun liner secondary guide, clamp down the idler and the wire is ready to feed. With the machine on, pull the lead out and press the trigger. When the wire feeds out of the end, thread on the contact tip, reinstall the nozzle, and trim the wire.
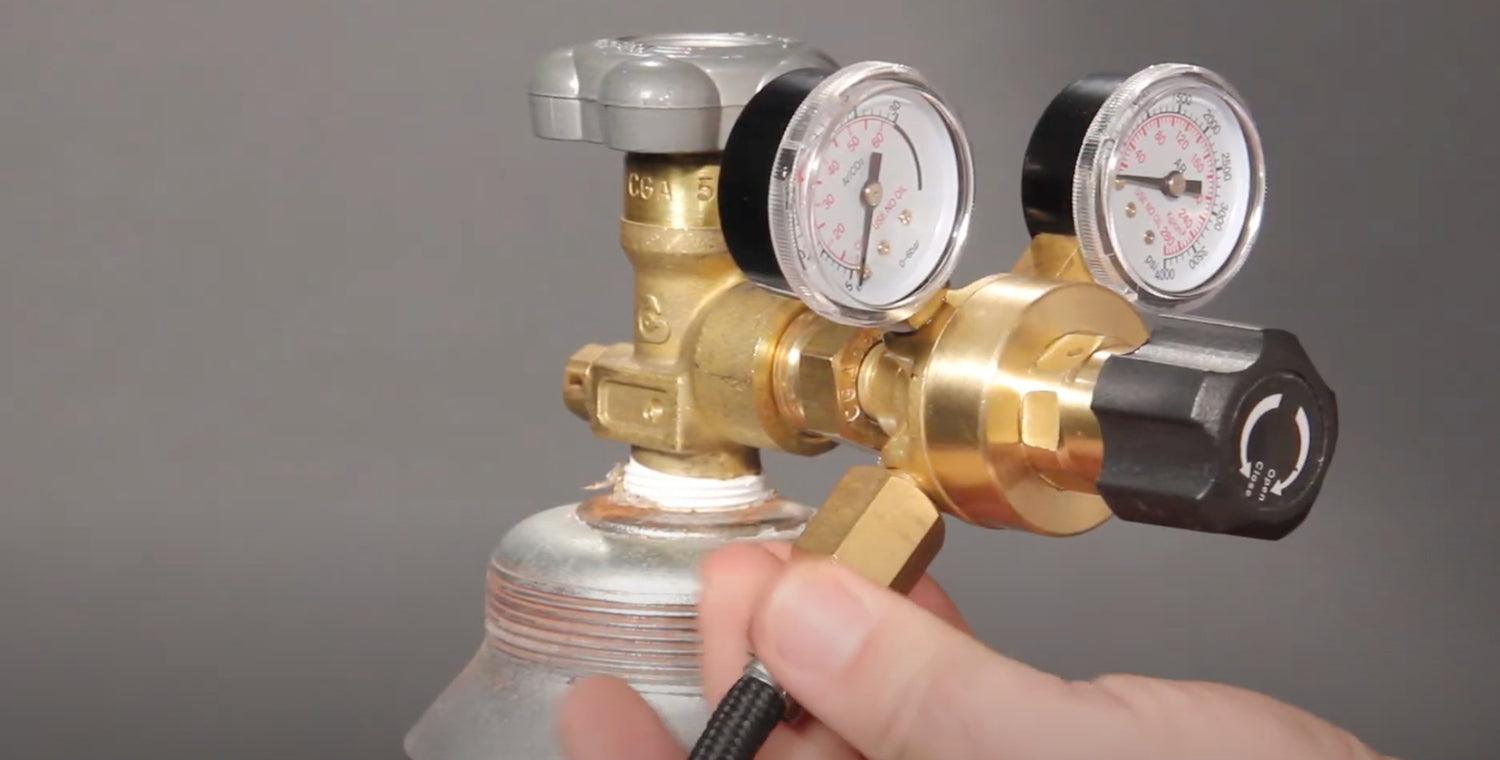
Connect the Shielding Gas.
Crack the cylinder valve open and close it quickly just to below any dirt. Install the regulator to the cylinder and the machine and then turn the gas flow up to 25 to 30 cubic feet per hour, that’s 13 to 15 liters per minute.
Connect the Work Clamp
It needs to be connected to the negative terminal.
The Settings On The Machine
On most machines, there are two same common settings, that’s voltage and wire feed speed.
Inside the cover of most machines, there’s usually a chart giving some settings for voltage and wire feed speed based on wire size and the gas you’re using, and the recommended settings are usually quite reliable.
Wire speed
The wire speed affects the amperage of your weld or it’s the primary variable to control how much heat goes into the material and it also controls how much materials are being added. So, when you need more heat, you can turn up the wire feed speed.
Voltage
And the voltage affects the process operates. And this particular variation of the process is called short-circuit MIG welding. In this process, the wire feeds out of the gun, contacts your work, and then an arc starts and it burns back the wire, then it goes out, and the wire feeds in. This process is repeated many times per second. For the process to happen in the right way, the voltage must be tuned in.
When you are a beginner, you can just use the recommended settings on the charts. And after you get a little experience, you can run an experiment, just change one thing at a time and run welds over and over again to get a hands-on understanding of what effects turning each of the knobs has.
The Welding Technique
Stick
OutStick Out is your contact tip for work distance. The distance usually needs to be around a half inch or a little bit less for short-circuit MIG welding.
Gun angle
Gun Angle has two components, work angle, and travel angle. The work angle is the direction perpendicular to the direction of travel. On a flat plate, the working angle is 90 degrees right in and out of the plate. And when you’re welding a t-joint down in a corner, the working angle is 45 degrees in and out of the corner. The travel angle is the direction of travel and it’s usually an angle of 10 to 15 degrees in either a drag angle or a push angle.
Your movement
Your movement has two aspects.
The first aspect is your travel speed, that’s how fast you travel along the joint.The travel speed can control the size of the weld. When you travel slowly, you can get a large weld, and when you travel faster, you can get a smaller one. But there are limits to the travel speed. When you’re working with thin materials, if you travel too slowly, you may blow small holes through them, and when you’re working with thicker materials, if you travel too fast, you may melt out more space than you’re able to fill in and end up with recessed spots called an undercut.
The other aspect is manipulation. Manipulation is not a key to success, but it can be helpful on vertical welds to keep your welds from crowning up too much and a little bit of manipulation can be helpful to pace yourself as you move along.
Lastly, let’s talk about body positioning. To focus on and maintain your welding technique, it’s best if you can use your other hand to prop up and either slide along or if you can’t, just collapse your hand down.That’s everything you need to do from the beginning to lay down beads.